
Employee Experience
Office Management Hacks
Case Study
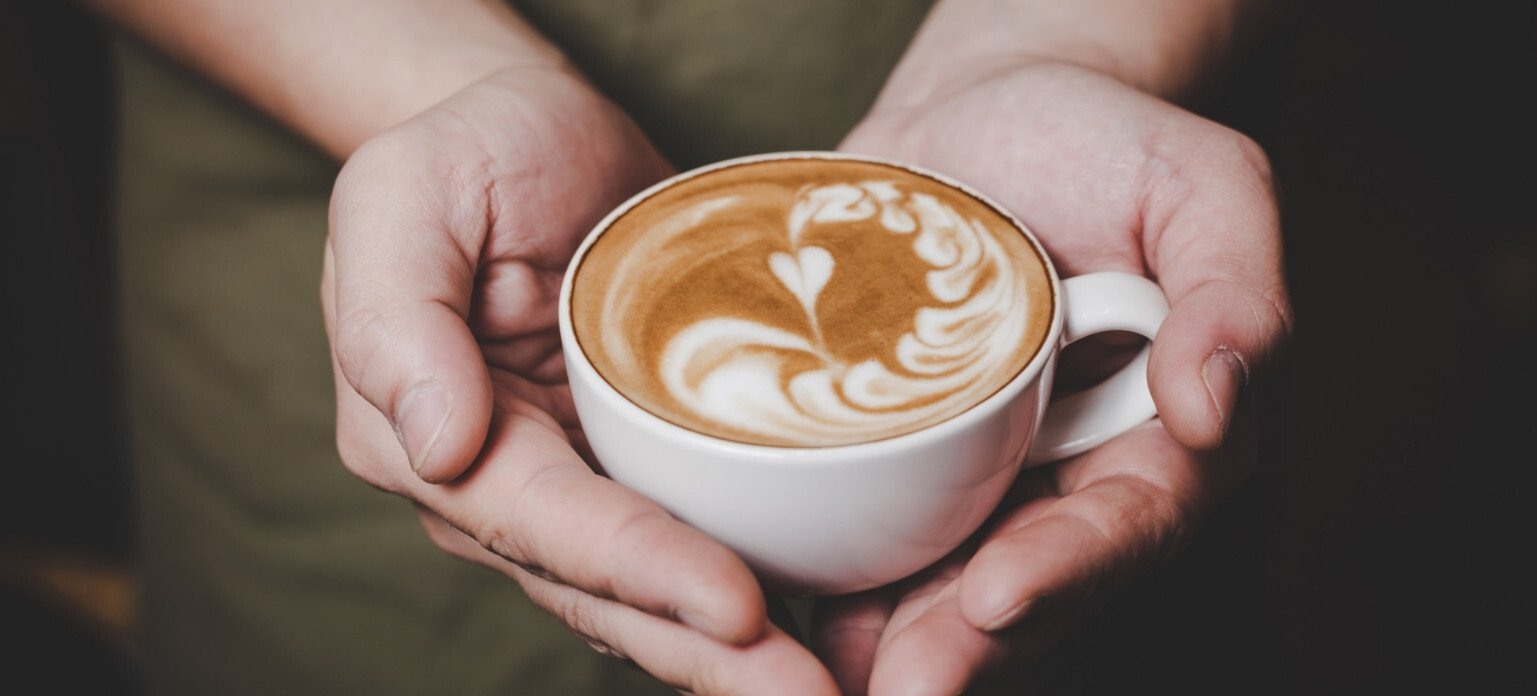

A clean heart in the cup looks effortless. But it’s no accident—it’s milk foam for latte art with just the right consistency: fine, glossy, creamy—like wet paint, not like dishwashing suds. The good news: You can learn this technique. The truth: It takes practice and a few basic rules that hardly any roastery openly explains. That’s exactly what you’ll get here—complete and straight to the point. And if your team would like to experience this firsthand, a latte art workshop in Berlin is the fastest way to go from reading about it to actually doing it.
Good milk foam is created in two phases. If you understand these, you’re halfway there.
Phase 1 – Stretching: Immediately after starting, hold the steam wand just below the surface. You’ll hear a soft, steady hissing sound. This is when the milk draws in air and expands by about a third. This takes only a few seconds.
Phase 2 – Texturing: Next, lower the wand slightly deeper into the milk and create a swirling motion. Now the coarse foam is broken down into fine, silky microbubbles. The result is a glossy swirl with no visible bubbles—the foundation for any design.
For this to work, the milk itself is key. For perfect milk foam for latte art, you need two things: protein for stability and fat for creaminess.
Important in all cases: use fresh milk, well-chilled, straight from the refrigerator. Leftovers from the day before or milk that’s already been heated are difficult to froth properly.
A practical tip for the office, where there are often several types of milk in the fridge: Keep one specific type of milk on hand for latte art experiments instead of switching between varieties. Every type of milk behaves differently when frothed. If you always use the same kind, you’ll learn more quickly exactly when it’s time to stop. Consistency beats variety here.

When it comes to delicate patterns, the choice of milk is crucial. A heart is quite forgiving. A rosette or tulip pattern requires foam that remains pourable for a long time and doesn’t stiffen immediately.
The rule here is: whole milk beats low-fat milk. The fat makes the latte art milk foam smoother, so it “tears” cleanly when poured and forms crisp lines. Low-fat milk sets faster and feels thick and sticky when poured.
With plant-based alternatives, the recipe is key. Barista-grade oat milk with a high fat and oil content produces the cleanest designs. Look for ingredients like canola oil or sunflower oil on the package—they’re a sign of quality here, not a flaw.
And here’s another point that’s often overlooked: fresh milk beats UHT milk. Long-life milk undergoes slight changes in its protein due to heat treatment and tends to produce a slightly coarser foam. That’s fine for everyday use. For clean latte art, fresh whole milk is worth the effort.
In short: The finer the design, the higher the fat content and the fresher the milk should be.
Yes—but it’s not quite as easy. Latte art milk foam without steam is possible if you don’t have a portafilter with a steam wand on hand. These methods work:
The honest catch: Without steam, you’ll rarely get the silky microfoam that a steam wand produces. For a creamy cappuccino at home, this is more than enough. When it comes to perfectly defined rosettes, every no-steam method eventually reaches its limits. The glossy, “liquid” foam that pours cleanly remains the crowning achievement of the steam wand.
You might also be interested in: Which Coffee for the Office? Choosing the Right Variety, Roast, and Quantity
One of the most common questions—and the answer is simple: start cold, serve warm.
Always start with cold milk straight from the fridge. Cold milk gives you more time for the steeping phase before the ideal temperature is reached. If you start with lukewarm milk, you’ll have little room to incorporate air.
The target temperature is 60–65 °C. In this range, the milk tastes sweetest because the lactose unfolds pleasantly, and the foam remains stable.
The critical limit: do not exceed 70 °C. Above that, the milk proteins denature, the foam collapses, and a slightly bitter, “cooked” taste develops. If you don’t have a thermometer, here’s a rule of thumb: If the milk pitcher gets so hot that you can barely hold it for three seconds, it’s time to stop.
And what about cold milk foam? Cold foam is a distinct product for iced coffee and cold brew—light, cool, and used as a topping. It’s not suitable for pouring latte art into hot coffee. Warm microfoam and cold foam are therefore two different tools for two different drinks.

Technique is one thing; tools are another. Three things make the difference between “so-so” and “really good”:
A thermometer helps immensely at the beginning. With a little practice, you can replace it with the “hand rule” on the pitcher. That’s the point where instructions turn into real skill—and it’s exactly this transition that a workshop with immediate feedback makes so much faster than any video.
Why does my foam have large bubbles? You’ve pulled air for too long or held the nozzle too high. Pull for a shorter time, then switch to the rolling phase immediately.
Why does my foam collapse immediately? Usually, the milk has gotten too hot. Above 70 °C, the foam loses its stability. Stop sooner.
Can I use lactose-free milk? Yes. Lactose-free whole milk foams almost identically and actually tastes a bit sweeter because the lactose has been broken down.
Does the foam have to be used right away? Yes. After 30–60 seconds, the foam and milk will separate again. Swirl briefly and pour quickly.
You might also be interested in: Latte Art for Beginners: Step-by-Step Guide
So far, you’ve covered the entire theory—more than most roasteries share publicly. The rest is muscle memory. After all, you can learn to read a rosette in five minutes, but you only really get the feel for it after your twentieth cup. It’s precisely this hands-on practice with immediate feedback from a barista that a workshop provides—and that no manual can replace.
For office managers and HR teams, this is more than just a nice coffee break. A group latte art workshop gets colleagues talking, creates a small sense of accomplishment for everyone, and fits into an afternoon. No major effort required, just a noticeably positive atmosphere.
If you’d like to organize something like this for your team in Berlin, you’ll find verified providers on Officeguru —such as We Roast Coffee—who run exactly these kinds of workshops in the office. The first step is free: simply sign up, compare providers, and book the workshop that’s right for your team. From perfect milk foam to the perfect team afternoon, it’s just a pour away.